
Microbiome-Focused Land Prep for Vegetable Farming
Microbiome-Focused Land Prep for Vegetable Farming
Prepare land for vegetable farming by prioritizing the soil microbiome: test soil, reduce disturbance, add organic matter, select cover crops and design microbial enrichments to build resilient, productive beds.
What is microbiome-focused land preparation?
Microbiome-focused land preparation means shaping the physical, chemical and biological soil environment to favor beneficial microbes before planting vegetables.
Define goals: improve nutrient cycling, increase disease suppression, enhance water holding capacity, and stabilize soil structure.
Why should vegetable farmers focus on the soil microbiome first?
Focusing on the soil microbiome improves plant nutrient uptake, reduces need for synthetic inputs, and increases resilience to drought and disease.
Support claims with data: the USDA Natural Resources Conservation Service reports that practices increasing organic matter and reducing tillage raise microbial biomass and aggregate stability. A 2019 review in Nature Reviews Microbiology found that diverse microbial communities promote plant health through nutrient mineralization, pathogen suppression and signaling with roots. A 2018 meta-analysis in Soil Biology & Biochemistry linked cover cropping and compost amendments to consistent increases in microbial activity and soil carbon.
How do you assess existing soil health and the microbiome?
Assess soil health through soil tests, physical inspections and microbial assays to establish a baseline before major land changes.
Take these steps:
- Order a standard soil test for pH, texture, organic matter, macronutrients and micronutrients from a certified lab. Use NRCS and university labs when possible.
- Run a biological soil test. Choose DNA-based microbial community profiling or functional assays that measure respiration, enzyme activity, or nitrogen mineralization. Use results to target amendments.
- Survey field physical condition: compaction, drainage, erosion signs and topsoil depth. Walk the field in wet and dry states to identify low spots and hardpans.
- Map microclimates, slopes and sun exposure. Use a simple hand-held sensor or modern tools: implement AI-enabled soil sensors to collect continuous moisture and temperature data where budgets allow.
How do you design a microbiome-friendly land-prep plan?
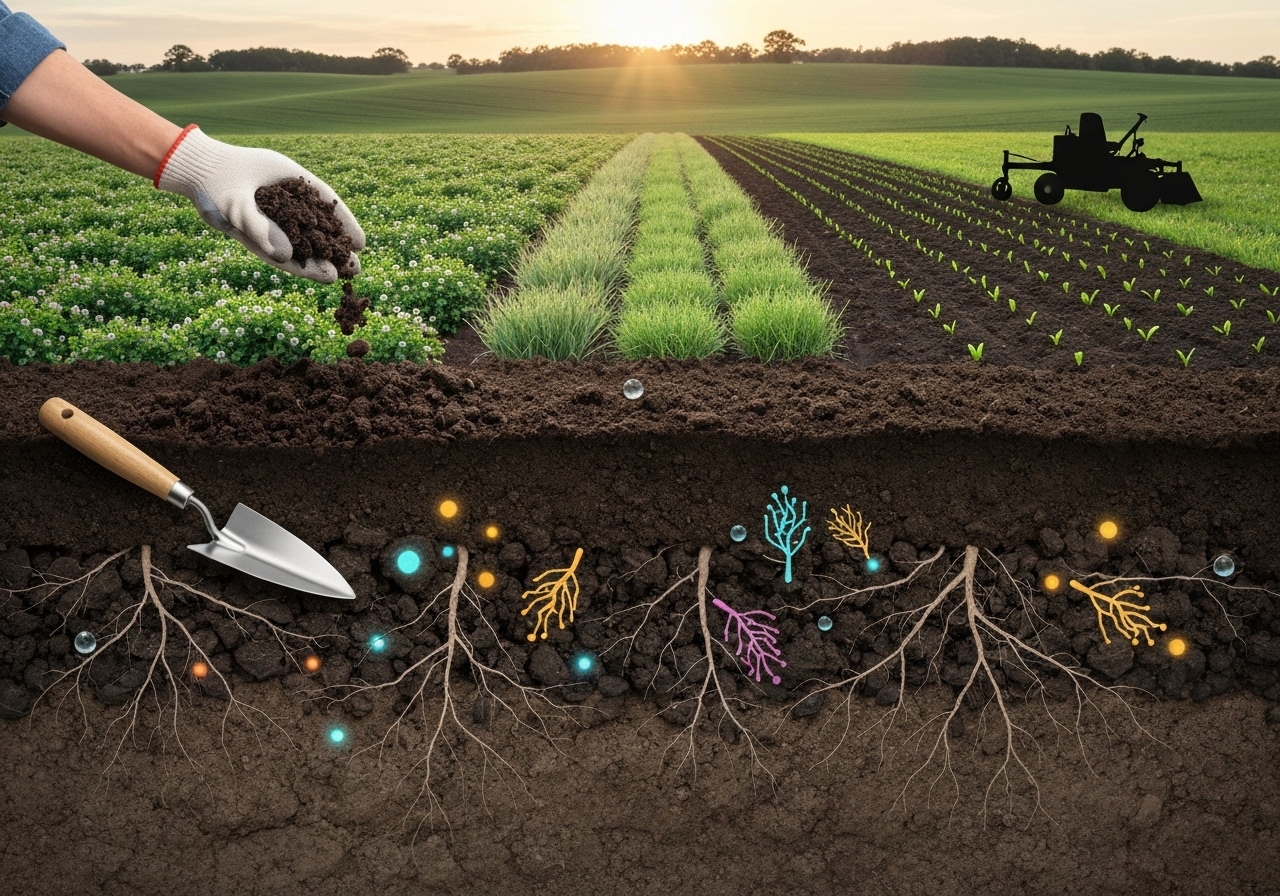
Design a plan by sequencing soil tests, amendments, cover crops, minimal disturbance and targeted microbial additions using a timeline tied to planting dates.
Follow these design steps:
- Prioritize pH and nutrient corrections 8-12 weeks before planting to allow microbiome response. Apply lime if pH is below crop optimum or sulfur if too high.
- Increase organic matter through compost, composted manures, or well-aged green manures applied 4-12 weeks before planting depending on stability.
- Define tillage intensity. Choose minimal tillage to preserve fungal networks unless severe compaction or weeds require deeper work.
- Select cover crops for root architecture and residue type to favor desired microbes (see cover crop section).
- Plan crop rotations and low-input sequences that reduce pathogen carryover and support diverse microbial niches; integrate principles from adaptive low-input crop rotation plans to match planting windows and disease break strategies.
- Identify candidate microbial amendments and design application windows—seed coatings, soil drenches or compost extracts—preferably informed by on-farm microbial mapping.
Which cover crops and green manures best support the vegetable soil microbiome?
Choose cover crops by purpose: deep-rooted species to break compaction, legumes to boost nitrogen, and high-carbon species to build fungal networks.
Recommended species and mixtures:
- Legumes: hairy vetch, crimson clover, field pea — provide biologically fixed nitrogen and stimulate rhizobia and associated microbiota.
- Brassicas: oilseed radish and mustard — produce biofumigant compounds that reduce soil-borne pathogens when incorporated strategically, but may suppress some beneficial fungi if overused.
- Grasses/rye: cereal rye, oats — create high-residue biomass that supports saprophytic fungi and stabilizes aggregates.
- Mixes: combine a legume + grass + brassica in rotation or cocktail mixes to balance N, biomass and biofumigation effects.
Manage cover crops for microbiome benefit:
- Terminate at flowering or at appropriate biomass stage to maximize rooting and residue inputs.
- Use roller-crimping for no-till termination where possible to protect soil structure.
- Aim for 3,000–6,000 lb/acre dry biomass for meaningful organic matter addition where climate allows.
How do you build and introduce beneficial microbial communities?
Introduce beneficial microbes by adding stable organic matter, cultured consortia when needed, and by fostering native populations through habitat and food resources.
Practical steps:
- Apply well-made compost at 2–5 tons/acre to supply diverse microbes and labile carbon. Confirm compost maturity to avoid phytotoxicity.
- Use compost teas or extracts cautiously: apply aerated teas during cooler parts of the day and avoid untested recipes that encourage opportunistic microbes.
- Design targeted inoculants for constraints: mycorrhizal inoculum for low-P soils, rhizobia for legumes, or specific bacterial consortia for salinity or drought stress. Use guidance from designing on-farm microbial consortia to match strains to local needs.
- Prefer locally-sourced inoculants or on-farm enrichment to increase establishment success; native microbes adapt better to field conditions.
How does tillage and physical preparation affect the microbiome?
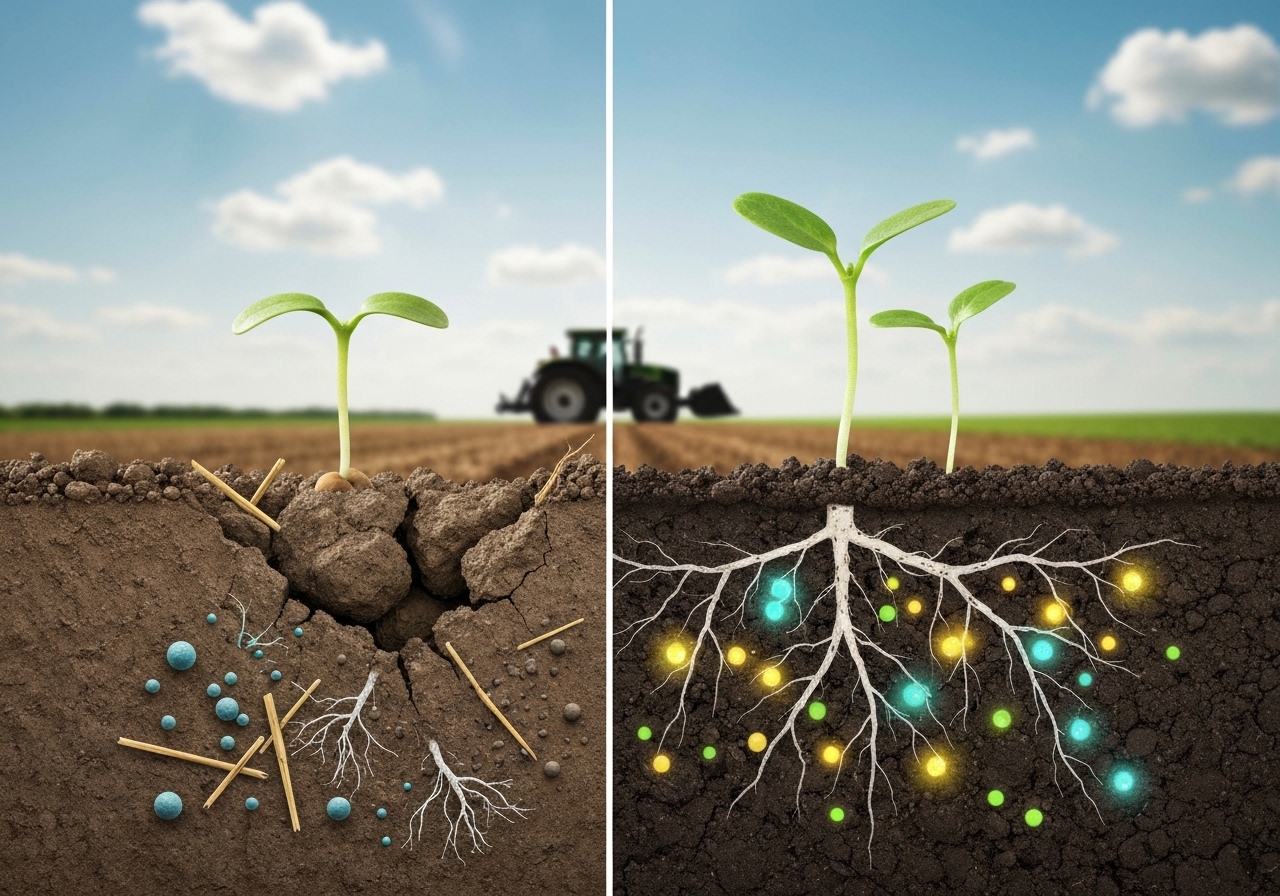
Tillage alters microbial habitat: shallow or no-till conserves fungal hyphae and aggregation while deep tillage resets communities and speeds decomposition.
Tillage guidelines:
- Use reduced tillage (one-pass shallow disk or zone till) to limit disturbance to 2–4 inches for bed preparation when soil structure is good.
- Employ deep ripping only to remedy compacted layers; follow with biological recovery measures—cover crops and compost—to rebuild networks.
- Prepare raised beds or hills where drainage is poor to reduce anaerobic zones that harm beneficial aerobic microbes.
- Avoid working wet soil. Compaction from trafficking crushes pore space and reduces oxygen, directly decreasing aerobic microbial activity.
How should nutrient management be adapted to favor beneficial microbes?
Balance nutrients through organic inputs and slow-release mineral sources to feed both plants and microbes without creating imbalances that favor pathogens.
Nutrient strategies:
- Base fertilizer plans on soil tests and expected crop removal rates. Avoid blanket high-soluble-N applications that can reduce mycorrhizal colonization.
- Apply organic amendments with C:N ratios of 20:1–30:1 to promote gradual mineralization. Add small amounts of high C residues to stimulate fungal activity.
- Correct phosphorus and potassium deficiencies when they limit plant-microbe symbioses; phosphorus extremes can suppress mycorrhizal formation.
- Use gypsum to improve sodic soils without altering pH when sodium is a problem, and lime to raise pH for neutral-preferring microbes when necessary.
What irrigation and mulching practices protect the microbiome?
Employ irrigation that avoids prolonged saturation and surface crusts; mulch to stabilize temperature and moisture and supply carbon to decomposers.
Water and mulch tactics:
- Install drip or subsurface drip to deliver water to the root zone and reduce surface wetness that favors foliar pathogens and anaerobic microbes.
- Use micro-irrigation combined with soil moisture scheduling guided by sensors to maintain soil moisture at levels that support microbial activity without waterlogging; consider practices highlighted in regenerative micro-irrigation resources.
- Apply organic mulches (straw, chopped cover crop residues) at 2–4 inches to reduce evaporation, buffer soil temperature swings and feed decomposer communities.
How do you use microbial inoculants and seed coatings effectively?
Use inoculants when testing shows deficits or when introducing legumes or planting into degraded soils; match inoculant strains to crops and local conditions.
Best practices:
- Apply mycorrhizal inoculants to transplants or low-P soils; use granular or plug-inoculants at transplant. Ensure inoculants are applied in contact with roots.
- Use rhizobia-coated seed for legumes with compatible strains and evidence of nodulation in trials.
- Prefer seed coatings designed for field conditions; review research on microbial seed coatings for salinity-prone sites.
- Test new products on a small scale first. Monitor for establishment and crop response over at least one season.
How do you monitor microbiome and soil health after land prep?
Monitor soil health with repeated tests, sensor data and plant performance observations to confirm that interventions are delivering intended microbiome benefits.
Monitoring plan:
- Repeat a soil chemical and organic matter test annually or biannually in the same sampling zones.
- Use biological assays (soil respiration, enzyme assays) or DNA-based surveys every 1–3 years to detect community shifts.
- Record yield, disease incidence and input rates each season and correlate with soil data to inform adjustments.
- Deploy field sensors for moisture and temperature where resources permit to fine-tune irrigation and avoid stress events that disrupt microbial processes.
How does crop rotation fit with microbiome-focused prep?
Integrate crop rotation to diversify plant root traits and break pathogen cycles, thereby sustaining diverse soil microbes and improving long-term productivity.
Rotation principles:
- Sequence families: avoid consecutive Solanaceae or Brassicaceae plantings in the same bed; include non-host cover crops as breaks.
- Interpose deep-rooted and shallow-rooted crops to explore different soil horizons and support diverse microbial niches.
- Adopt rotating green manures to replenish organic matter and supply functional diversity; consult adaptive rotation planning resources for small farms such as adaptive low-input crop rotation plans to tailor sequences to labor and market needs.
What is a practical starter checklist to prepare land for the upcoming vegetable season?
Use this checklist to sequence actions and ensure microbiome-focused readiness.
- Collect composite soil samples and order a lab analysis for chemical and organic matter metrics.
- Map the field for microclimates, compaction zones and prior disease hotspots.
- Decide on tillage intensity: choose minimal disturbance where structure is acceptable.
- Apply lime or sulfur based on test results and allow 6–12 weeks for pH adjustment.
- Spread compost at recommended rates and incorporate shallowly or topdress under mulch.
- Sow a chosen cover crop or green manure that matches the intended rotation and biomass goals.
- Plan irrigation layout (prefer drip) and place sensors for critical zones if available.
- Plan microbial amendments and small-scale trials; source local inoculants or design on-farm consortia with testing guidance.
- Prepare planting beds, apply starter compost teas only if tested, and transplant when soil temperatures and moisture are stable.
What mistakes reduce the effectiveness of microbiome-focused land prep?
Avoid common errors: overuse of broad-spectrum biocides, working wet soils, applying immature compost, and rapid high-rate soluble fertilizers that disrupt microbial communities.
Specific cautions:
- Do not apply raw manure without proper composting. Raw manure can introduce pathogens and imbalanced microbial loads.
- Do not incorporate excessive high-carbon residue right before planting; allow partial decomposition to prevent nitrogen tie-up.
- Avoid repeated use of the same microbial product without monitoring; communities shift and efficacy can drop over time.
How should small-scale and urban farms adapt microbiome-focused prep?
Adapt practices to scale by prioritizing container composting, raised beds with imported topsoil, and compact cover crop cycles to fit shorter land availability windows.
Scaling tips:
- Use high-quality compost in raised beds at 20–30% by volume for immediate benefits.
- Employ short-duration cover crops like buckwheat to rapidly build biomass between cash crops.
- Consider local networks or cooperative models to share specialized services: soil DNA testing, bulk compost and microbial inoculum production.
Which metrics indicate success for microbiome-focused land prep?

Track improvements in soil respiration, aggregate stability, organic matter, reduced disease incidence and yield per input unit as primary success metrics.
Benchmark values where available:
- Increase in soil organic matter by .25–1. percentage points over several seasons signals meaningful change.
- Soil respiration rates and microbial biomass carbon rising year-on-year indicate rising biological activity.
- Reduced fertilizer or pesticide inputs per unit yield show improved biological nutrient cycling and pest suppression.
What resources and further reading inform practice?
Consult university extension publications, NRCS soil health guides, and peer-reviewed reviews on soil microbiomes. For applied methods, review on-farm microbial consortia design and adaptive rotation guidance available from practitioner-focused sources such as designing on-farm microbial consortia and adaptive crop rotation plans.
Implement a monitoring plan and iterate annually. Prioritize soil tests, conservative trials of new products, and record keeping to build farm-specific knowledge.
Final practical guidance
Start small: trial microbiome-focused practices on a single block or bed. Measure soil chemistry and biology before and after interventions. Scale successful tactics gradually while maintaining plant diversity and minimizing disturbance to maximize long-term soil health and vegetable yields.


