
DIY Farm Soil Testing: Pocket Field Methods for Beginners
DIY farm soil testing helps beginners learn simple pocket-field methods to make management decisions, track soil health, and plan amendments. This practical guide explains when and where to test, what tools to carry, how to collect representative samples, quick field tests to run, which lab tests to order, and how to turn results into on-farm actions. The steps below follow recommendations from USDA Natural Resources Conservation Service and university extension services to give reliable, low-cost workflows for small farms.
What is farm soil testing and why should beginners do it?
What is farm soil testing: it is the process of measuring chemical, physical, and biological soil properties so you can make evidence-based fertility and management decisions. What is farm soil testing helps you identify pH imbalances, nutrient shortages, salinity issues, compaction, and biological activity. What is farm soil testing matters because corrected problems raise yields, cut input costs, reduce environmental losses, and enable targeted practices such as cover cropping, lime application, and microbe amendments (USDA NRCS; Cooperative Extension).
When and where should I test my fields?
When and where to test: test before major amendments or planting, sample by field unit or uniform management zone, and collect samples at consistent depth and season. When and where to test depends on crop goals: perform baseline tests in fall or spring during the dormant window; run nitrate tests in-season for high-N crops. When and where to test requires mapping your acreage into uniform zones by soil type, slope, wetness, crop history, or microclimate. When and where to test is more accurate if you separate sandy strips, low-lying areas, and previously amended beds. Use field maps or microclimate crop maps to guide sample zones.
What basic tools do beginners need for pocket-field soil testing?
What tools you need: a soil probe or trowel, clean bucket, sample bags, marker, pH test kit or handheld pH meter, EC meter or salinity strips, and a small field notebook. What tools you need are inexpensive: a basic soil probe costs $30–$120; pH test strips or a meter range $10–$200; an EC/salinity pen is $25–$150. What tools you need also include a 1-gallon zip bag per sample, permanent marker for labeling, gloves, and a hand lens for aggregates. What tools you need should be complemented with a simple field thermometer and stopwatch when doing infiltration or respiration checks.
How do I collect representative soil samples?
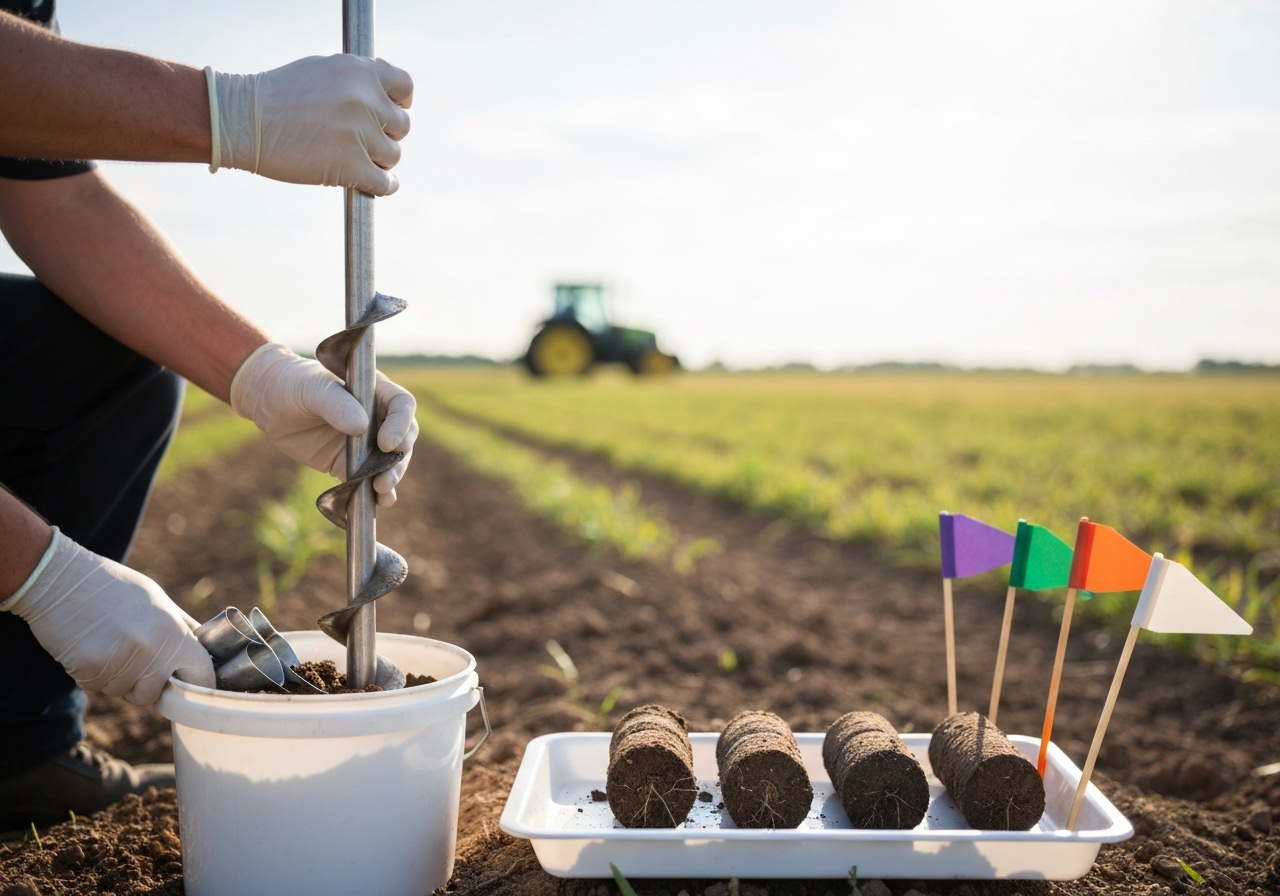
How to collect representative samples: collect 10–20 cores from each management zone, mix into one composite sample, record depth and location, and avoid atypical spots. How to collect representative samples follows this step-by-step process: 1) How to collect representative samples: define zones of uniform crop and soil; 2) How to collect representative samples: use a clean probe or trowel and take cores at a consistent depth (–6 inches for vegetables and –8 inches for pastures and tilled fields); 3) How to collect representative samples: take 10–20 cores per composite sample, spaced in a zig-zag pattern; 4) How to collect representative samples: exclude fence lines, manure piles, old compost, and wheel tracks; 5) How to collect representative samples: mix cores in a clean bucket, fill the sample bag with 1–2 cups of the mixed soil, label with field ID, depth, and date, and keep samples cool and dry before shipping to the lab. How to collect representative samples is the most important step to avoid misleading recommendations (state extension lab guidelines).
What pocket-field tests give useful quick data?
What quick field tests work: pH strips or meter, electric conductivity (EC) for salinity, jar texture test, ribbon test for texture, simple nitrate color kits, earthworm counts, infiltration test, and slake/aggregate stability checks. What quick field tests work include these practical procedures: 1) What quick field tests work: pH with strips or a calibrated handheld meter (pH indicates lime needs); 2) What quick field tests work: EC pens or salinity strips show salt stress risk and fertilizer salt buildup; 3) What quick field tests work: jar test (soil texture) by shaking 1:2:3 soil:water settling layers to estimate sand/silt/clay percentages; 4) What quick field tests work: ribbon and feel test to refine texture estimate; 5) What quick field tests work: simple nitrate color kits (test strips or color comparators) to estimate available inorganic N in soil extracts for in-season decisions; 6) What quick field tests work: earthworm counts per shovelful and visual aggregate stability (slake test) to judge biological activity and structure. What quick field tests work are low-cost and informative; pair them with periodic lab results for calibration (Cooperative Extension recommendations).
How can beginners estimate organic matter and soil biology in the field?
How to estimate organic matter and biology: use visual cues (soil color and structure), earthworm counts, aggregate stability jar test, residue decomposition rate, and simple CO2 burst kits for respiration. How to estimate organic matter and biology relies on multiple indicators: How to estimate organic matter and biology: dark brown soils with granular structure and abundant roots usually indicate higher organic matter; How to estimate organic matter and biology: count earthworms per spadeful as an activity index (higher counts mean more biological activity); How to estimate organic matter and biology: perform an aggregate stability jar test—stable aggregates that resist slaking show better soil health; How to estimate organic matter and biology: use field respiration quick tests (CO2 burst kits such as Solvita) to measure microbial activity in ppm CO2. How to estimate organic matter and biology provides directional data, but lab LOI organic matter and biological assays give precise quantification (university extension guidance).
When should I send samples to a lab and which lab tests should I order?

When to send samples: send a baseline lab test before major changes and repeat chemical tests every 2–4 years; order a full nutrient panel plus organic matter, CEC, and pH; order season-specific nitrate tests if needed. When to send samples, choose a reputable cooperative extension or certified soil-testing lab. When to send samples, typical lab panels include pH, buffer pH (lime requirement), phosphorus (Bray or Olsen depending on soil), potassium, calcium, magnesium, sulfur, micronutrients (Zn, Mn, Cu, B), percent organic matter (loss-on-ignition), and cation exchange capacity (CEC). When to send samples, for biological insight request a soil health package (respiration, active carbon, aggregate stability, or Haney/PLFA tests) if available. When to send samples, specify the crop or target so the lab provides crop-specific fertilizer recommendations (state extension labs like Cornell, Penn State, and others provide standardized reports).
How do I interpret lab results and convert them into amendments?
How to interpret results: compare lab numbers to the lab’s target ranges, prioritize pH correction first, adjust phosphorus and potassium according to soil test categories, and build organic matter and biology through practices rather than large single-dose organic amendments. How to interpret results follows these rules: How to interpret results: correct pH first because pH controls nutrient availability and microbial activity; How to interpret results: use the lab’s rating table (low, medium, high, very high) to determine P and K application rates; How to interpret results: calculate lime needs from buffer pH or lime index the lab provides; How to interpret results: reduce P and K if tests show high or very high values to avoid over-application and environmental losses; How to interpret results: increase organic matter and microbial diversity with compost, cover crops, reduced tillage, and targeted microbial consortia rather than relying solely on synthetic inputs. How to interpret results often requires field context—use soil texture and CEC to modify recommended rates because sandy soils have lower nutrient-holding capacity and require split, smaller applications.
What inexpensive sensors and apps help with pocket-field testing?
What sensors and apps help: handheld pH and EC pens, smartphone colorimetric apps for nitrate/pH strips, low-cost infrared thermometers, and data-logging probes connectable to phone apps for mapping results. What sensors and apps help include off-the-shelf tools: What sensors and apps help: low-cost Bluetooth soil probes that log moisture and temperature for mapping microclimates; What sensors and apps help: simple color-compare apps turn paper strip readings into numeric values; What sensors and apps help: AI-integrated sensors and local data platforms can accelerate field decisions (see research and examples in AI-enabled soil sensors). What sensors and apps help reduce human error and create digital records for monitoring trends season to season.
How often should I monitor and what schedule should beginners follow?
How often to monitor: perform baseline chemical tests every 2–4 years, check pH every 3–5 years, run annual nitrate tests for intensive vegetable and grain systems, and use quick field tests seasonally for management decisions. How often to monitor varies by management intensity: How often to monitor: high-input vegetable systems should test more frequently (yearly nitrate, 2-year P/K), low-input pastures and orchards can test less often (every 2–4 years). How often to monitor: map and label fields to track long-term trends and monitor microclimate zones separately using field maps or cropping calendars like those used for crop planning and microclimate mapping (diversified small-farm crop maps). How often to monitor ensures that corrective actions are measured and adjusted over time.
What simple checklist should beginners use in the field?
What checklist to use: tools, zone map, sample bags, labels, probe, bucket, pH/EC meters, nitrate strips, clipboard with sample log, and cool box for transport. What checklist to use simplifies sampling: What checklist to use: pack 1) field zone map and labels, 2) soil probe or trowel, 3) clean bucket, 4) 1-gallon sample bags and marker, 5) pH strips or meter and EC pen, 6) nitrates color kit if doing on-site N checks, 7) camera or phone to geotag anomalies, and 8) lab submission form if sending samples. What checklist to use keeps sampling efficient and consistent.
What common mistakes should beginners avoid?
What mistakes to avoid: sampling from non-representative spots, mixing different soil types, failing to note depth, contaminating samples, and making large corrective actions without lab confirmation. What mistakes to avoid include: What mistakes to avoid: do not sample next to compost piles, manure piles, or fence lines; What mistakes to avoid: avoid sampling after recent fertilizer spills or heavy rainfall that may skew soluble nutrient readings; What mistakes to avoid: do not assume soil biology will respond quickly to a single amendment—track changes over multiple seasons; What mistakes to avoid: consult extension or lab advisors when interpreting unusual numbers to avoid miscalculated lime or fertilizer doses (Cooperative Extension guidance).
What management practices should follow soil testing?
What management to follow: prioritize pH correction, optimize fertilizer based on test categories, build organic matter with cover crops and compost, use crop rotation, and monitor impacts over time. What management to follow includes low-input strategies: What management to follow: adopt adaptive crop rotations to reduce disease and balance nutrient removal (adaptive low-input rotation plans); What management to follow: incorporate cover crops (legumes for N, grasses for biomass) to build organic matter; What management to follow: apply lime at the rate the lab recommends and split large applications when soil buffer indicates slower change. What management to follow links soil testing to practical, regenerative steps that improve long-term farm resilience (USDA and university extension resources).
What records and metrics should beginners track?
What to track: baseline soil test reports, sampling dates and locations, amendment rates and dates, crop yields, and visual soil health indicators. What to track matters because long-term data reveals trends: What to track: keep scanned PDFs of lab reports, spreadsheet logs of sample IDs, and geotagged photos of sampling locations. What to track: record yield and quality metrics alongside soil data to measure return on soil improvement investments and to prepare for potential carbon or ecosystem service programs.
What are quick next steps to start DIY soil testing this season?
What next steps: map your fields into zones, buy or borrow a soil probe and pH/EC pen, collect baseline composite samples, run a few pocket-field tests, and send one full composite per zone to a cooperative extension lab. What next steps to do this season: 1) What next steps: allocate time for sampling in the dormant window; 2) What next steps: order a standard lab soil test and, if interested in biology, add a soil health package; 3) What next steps: use field tests to refine in-season decisions and track progress over the year. What next steps create a low-cost, practical monitoring program that pays back through better fertilizer use and healthier crops.
For beginners, consistent, simple sampling paired with targeted lab tests and ongoing field checks provides the fastest route to creating a soil-informed management plan. Combine test results with rotation planning, cover cropping, and microbe-enhancing practices to get the best results; consider resources on designing microbial inoculants and adaptive rotations to close the loop between testing and regenerative action (on-farm microbial consortia, adaptive rotation plans).
Quick reference: pocket-field sampling protocol
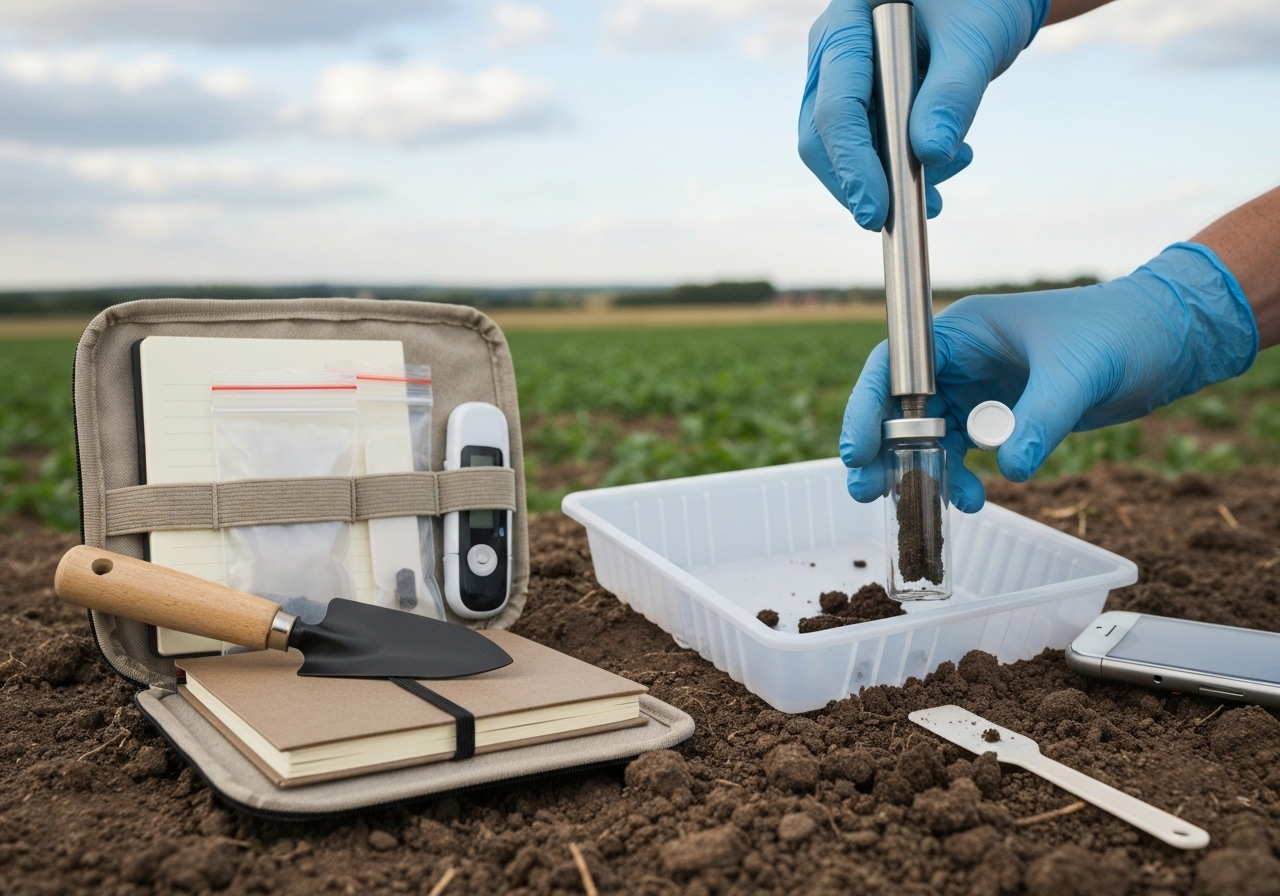
- Define uniform zones by soil type and management.
- Collect 10–20 cores per zone at consistent depth (–6 or –8 in).
- Mix cores in a clean bucket and place mixed subsample in labeled bag.
- Run pH and EC or nitrate strips in the field for immediate decisions.
- Send composite sample to extension lab for full analysis.
- Record results and plan amendments based on lab targets and CEC.
Resources and recommended references
Resources include USDA NRCS soil testing guidance, local Cooperative Extension soil testing labs (state university extensions), and soil health toolkits from reputable university programs. Use extension lab reports for interpretation and contact extension agronomists for site-specific advice.
Begin your DIY farm soil testing program with small, repeatable steps: sample smartly, run a few pocket tests, and use a trusted lab for baseline chemistry. Monitor change, adopt regenerative practices, and integrate results into crop maps and rotation plans to improve productivity and soil health year after year.


