
Solar-Scalding and Nurse Crops: No-Chemical Weed System
Solar-Scalding and Nurse Crops: No-Chemical Weed System
Use solar-scalding, nurse crops, mulches, and targeted mechanical strategies to control weeds without herbicides. Learn step-by-step field methods, timing, tool selection, and how to integrate these tactics with crop rotations and soil biology to suppress weeds while building soil health.
What is solar scalding and how does it suppress weeds?
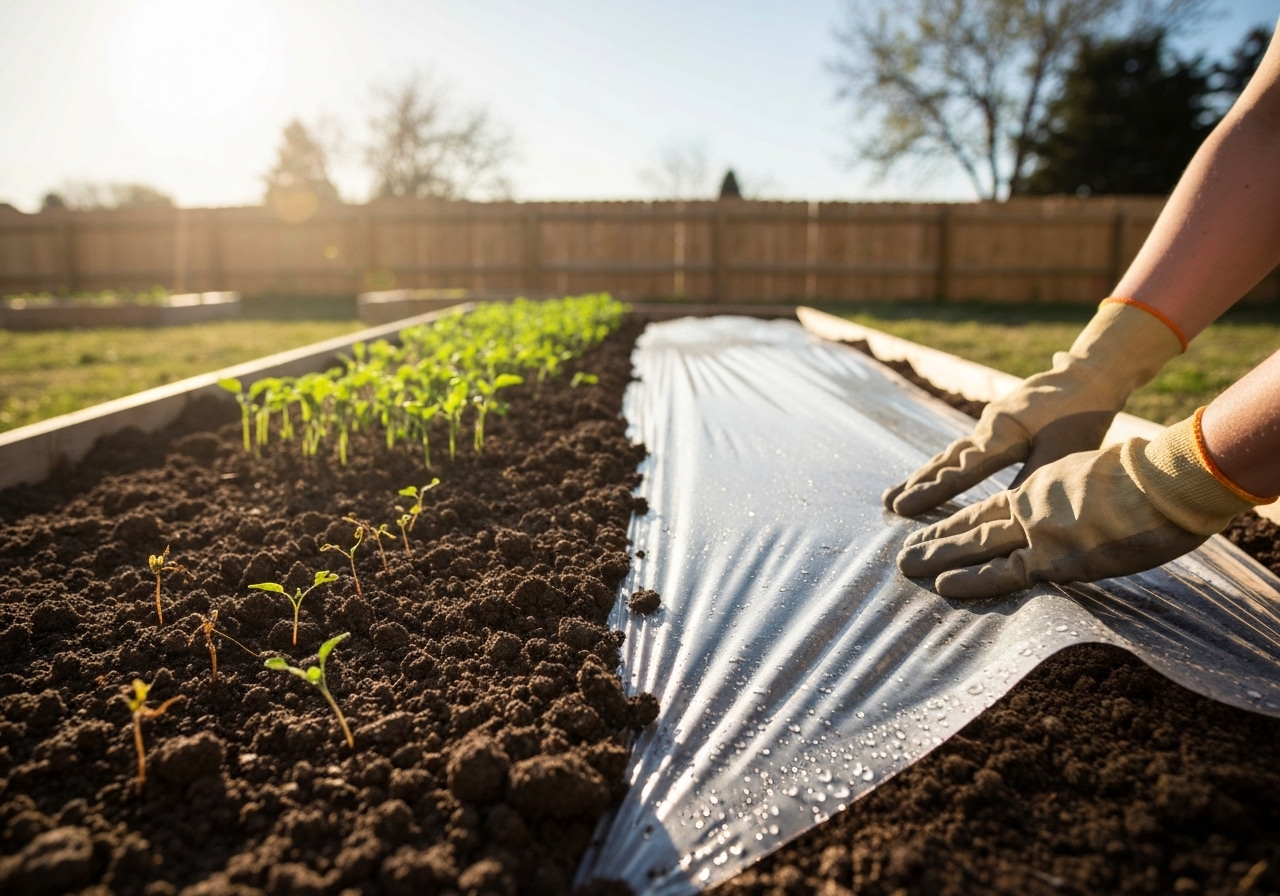
Solar scalding is the practice of using clear plastic tarps to heat the soil to temperatures that kill weed seedlings, weed seed near the surface, and soil-borne weed propagules.
Place clear plastic over moist, weed-free soil to raise soil temperatures to 45-70 degrees Celsius at the surface for several days. Research from university extension programs shows that transparent tarps transmit sunlight and trap heat more effectively than black tarps for weed seed mortality (University of California Agriculture and Natural Resources; USDA studies).
When should you solar scald?
Use solar scalding during the hottest part of the year. Schedule tarping for 4-8 weeks in midsummer where peak sunlight and air temperatures are highest.
Pre-irrigate soil 1-3 days before laying plastic. Moisture conducts heat downward and improves seed mortality rates.
How to set up solar scalding step by step
Prepare soil by removing large debris and major weed flushes. Rake smooth and firm soil slightly to reduce air pockets.
Lay clear polyethylene plastic 1-2 mil thick and seal edges with soil, rocks, or landscape staples. Ensure the sheet is taut to maximize heat transmission.
Punch a few tiny holes only when drainage or gas exchange is necessary; fewer holes increase heat retention and efficacy.
What results to expect from solar scalding
Expect near-complete control of small-seeded annual weeds in the upper 2-5 cm of soil after 4-8 weeks of effective solarization in hot climates. Perennial root fragments may survive deeper than thermal penetration; combine scalding with follow-up tactics for perennials.
What are nurse crops and how do they reduce weeds?
Nurse crops are temporary, quickly establishing companion plants sown to outcompete weeds, protect seedlings, and provide biomass for mulch or green manure.
Choose nurse crops with rapid germination and dense canopy traits. Examples include oats, buckwheat, millet, and rye depending on climate and cropping plan.
When to use nurse crops
Sow nurse crops in new beds, after solar scalding, or during fallow windows to prevent weed establishment. Terminate nurses before they set seed to avoid becoming volunteers.
How nurse crops work to suppress weeds
Nurse crops suppress weeds by shading, rooting density, and rapid nutrient uptake that deprives weeds. Certain species like buckwheat suppress weeds via canopy closure within 4-6 weeks.
Cut or roll nurse crops at flowering to create a mulch layer on the soil, killing the nurse while leaving weed-suppressive residue.
Which non-chemical tactics should you combine for a robust system?
Combine solar scalding, nurse crops, stale seedbed preparation, mulching, targeted mechanical tools, and crop rotation to reduce weed pressure and seedbank over time.
Why combine tactics?
Combine tactics because no single method eliminates all weeds. Integrated approaches reduce selection pressure and manage different weed life histories: small-seeded annuals, larger-seeded annuals, and perennials.
Stale seedbed technique
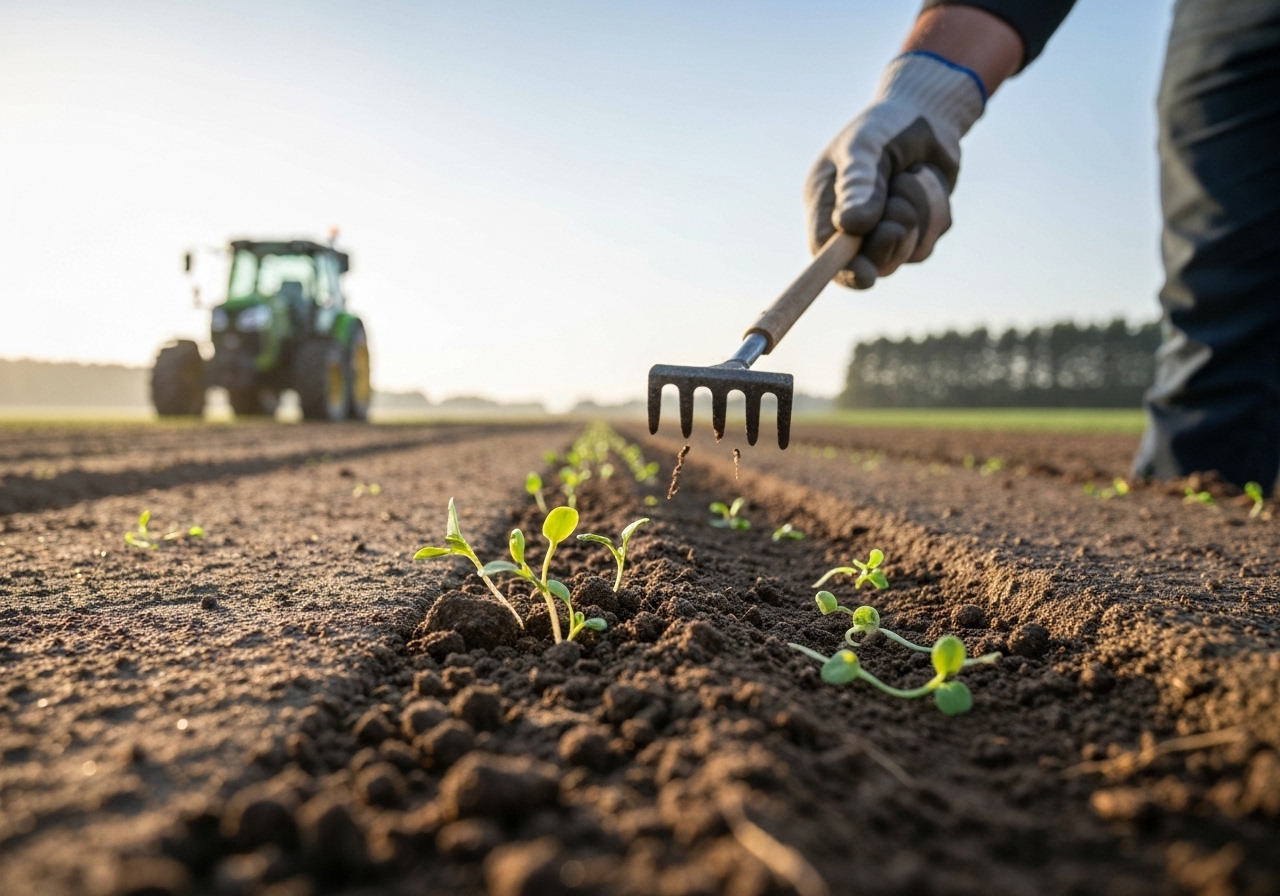
Prepare a fine, firm seedbed and allow a weed flush to emerge. Kill the flush with shallow cultivation, flame weeding, or solar scalding before planting the cash crop.
Plant crop immediately after final weed kill to prevent re-infestation.
Organic mulches and living mulches
Apply 5-15 cm of straw, wood chips, leaf mulch, or composted yard waste to block light and prevent germination. Use nitrogen-rich mulch sparingly on young transplants to avoid nitrogen tie-up.
Plant living mulches (clover, vetch) between rows to occupy niche space and suppress weeds while providing nitrogen and cover.
Targeted mechanical and thermal tools
Use wheel hoes, flame weeders, tine weeders, and finger weeders for precise control in rows. Use shallow cultivation to cut weed roots and prevent seed burial.
Use flame weeding for small-seeded annuals shortly after emergence; apply when seedlings are at the cotyledon to one-leaf stage for best kill rates and lower fuel use (Rodale Institute and multiple extension trials).
How to design a seasonal calendar for non-chemical weed control?
Design a seasonal weed calendar by mapping microclimates, expected weed flushes, and crop windows. Adjust tactics for each season to align with weed biology.
Use crop-specific timing: solar scald during high-sun months; cover crops in fallow seasons; stale seedbeds immediately before planting crops with narrow planting windows.
Plan rotations and cover crop sequences based on microclimate and field history. For help linking crop timing to microclimate, consult diversified small-farm crop maps by microclimates to align weed control actions with local conditions.
Monthly action checklist
- Spring: Prepare stale seedbed; solar scald late springs in hot regions; sow early nurse crops.
- Summer: Implement solar scalding peak months; terminate nurse crops; mulch transplanted beds.
- Fall: Plant winter cover crops (rye, vetch); manage perennials with mowing or grazing.
- Winter: Plan rotations and soil biology interventions; avoid deep tillage that brings new weed seed to the surface.
How should you select nurse crops and cover crops for weed suppression?
Select nurse and cover crops by canopy speed, root architecture, allelopathy, and biomass production. Use mixes to capture complementary traits.
High-performing species
- Rye: High biomass, winter-hardy, suppresses many weeds and produces allelopathic compounds.
- Buckwheat: Fast canopy closure in 4-6 weeks, excellent summer smothering crop.
- Oats: Quick spring growth, good for early-season suppression and easy termination.
- Millet and sorghum-sudangrass: Deep roots, high summer biomass, good for organic no-till mulch.
Plant cover crop mixtures with legumes (clover, vetch) to add nitrogen and grasses for biomass. Terminate mixtures by cutting, rolling, or mowing to create a mulch that reduces weed emergence.
How to integrate soil biology and microbial practices with weed control?
Integrate soil biology by minimizing soil disturbance, using cover crops, and inoculating beneficial microbes to support competitive cash crops and healthy root systems.
Design on-farm microbial consortia to improve nutrient cycling and plant vigor. Healthier crops shade soil and outcompete weeds more effectively. Consult research on microbial consortia for guidance on compatible inoculants and seeding rates in your region (guidance on designing on-farm microbial consortia).
Practical soil biology actions
- Reduce inversion tillage to preserve fungal networks and reduce weed seed burial.
- Use cover crop residues to feed microbes and create physical barriers to weed emergence.
- Time organic amendments to favor cash crop establishment rather than promoting weed growth.
How should you manage perennial weeds without chemicals?
Manage perennial weeds by depleting root carbohydrate reserves across seasons, combining mechanical, cultural, and biological tactics.
Seasonal depletion strategy
Year 1: Solar scald or deep cultivation to damage shoots, then plant a competitive nurse or cover crop.
Year 2: Repeat termination and maintain living mulch or dense crop stands. Consider competitive perennials such as timothy or clover for pasture situations.
Targeted tools for perennials
- Repeated mowing or grazing to prevent photosynthesis and weaken roots.
- Shallow rotary cultivation timed to cut regrowth before roots replenish energy.
- Solar scalding on exposed patches during hottest months to heat surface roots; follow with planting of competitive cover crops.
How do crop rotation and field design limit weed pressure?
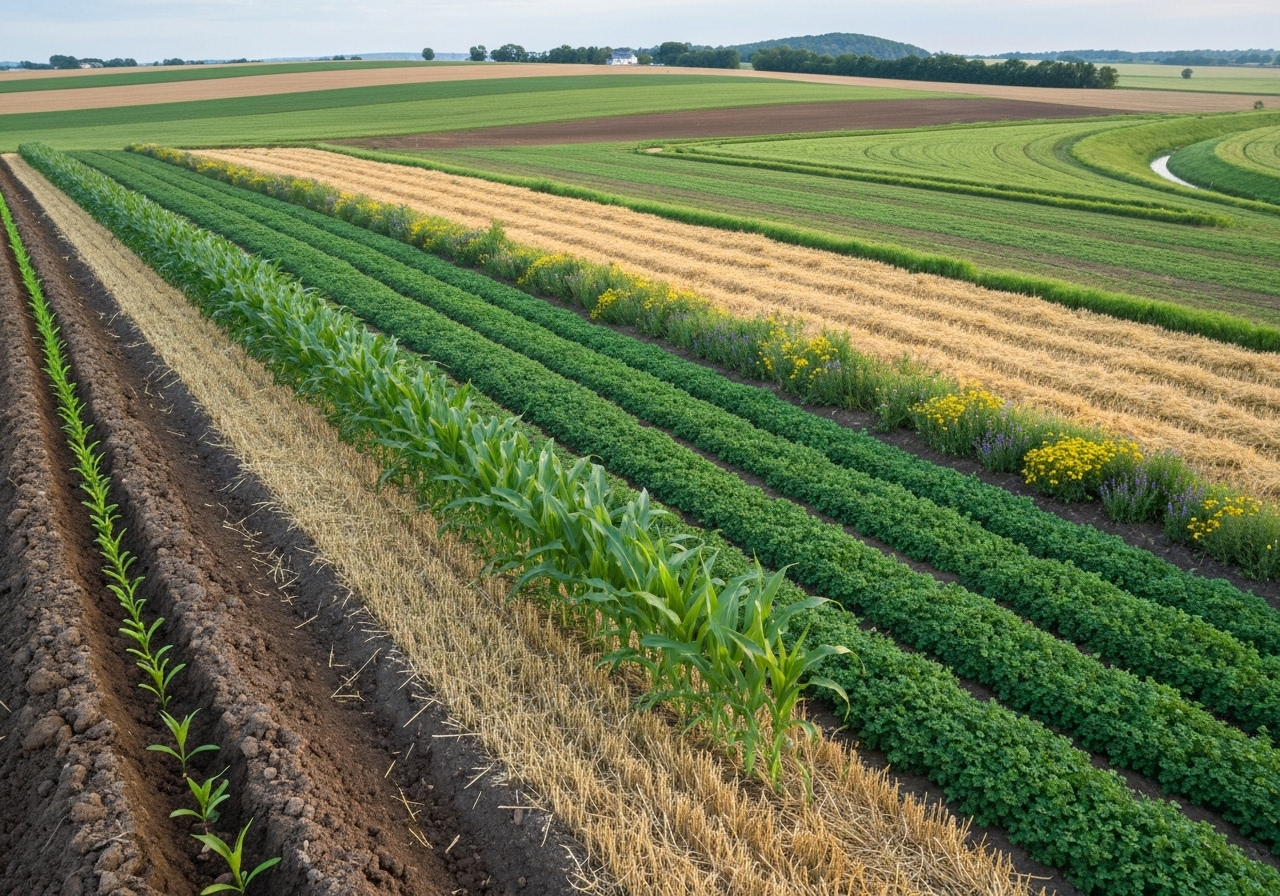
Use diverse rotations to interrupt weed life cycles. Rotate between broadleaf and grass crops, include high-density smothering cover crops, and avoid repeating the same planting dates and row spacings.
Design fields in strips or patches to concentrate interventions and reduce the spread of weed seed. For rotation templates and practical sequences for small farms, refer to adaptive rotation planning resources such as adaptive low-input rotation plans.
Rotation strategies that reduce weeds
- Alternate shallow-rooted and deep-rooted crops to disrupt perennial weed normals.
- Follow cash crops with a smothering cover crop for 6-12 weeks during the fallow window.
- Use allelopathic cover crops (rye, sorghum-sudangrass) strategically to suppress specific weed species.
Which mechanical tools are most efficient in no-chemical systems?
Choose tools for precision, low fuel use, and minimal soil disturbance. Prioritize wheel hoes, row cultivators, tine weeders, and flame weeders based on crop spacing and weed stage.
Tool use guidelines
- Wheel hoes: Use for early-season inter-row and intra-row weeding where transplants are spaced.
- Tine weeders: Use in cereals and some broadleaf crops to remove small seedlings right after emergence.
- Finger weeders: Use for delicate transplants to remove small weeds near stems.
- Flame weeders: Use for contact thermal control of small seedlings; operate when targets are at cotyledon to one-leaf stage for best results.
How to measure success and track weed seedbank changes?
Measure success by tracking weed counts per square meter, recording seedling emergence after interventions, and monitoring crop yields. Use seedbank assays from soil cores to estimate long-term changes.
Collect 10-20 soil cores per field to 5 cm depth and germinate samples in trays under standardized greenhouse conditions to estimate viable seed density. Repeat annually to quantify trends.
What are common mistakes and how to avoid them?
Common mistakes include relying on a single tactic, failing to follow up on survivors, burying seed with deep tillage, and using poorly timed interventions.
Avoid mistakes by sequencing tactics: solar scalding or stale seedbed, then nurse crops or direct seeding, then mulches and mechanical weeding. Maintain records and adapt annually.
Which case examples show success without herbicides?
Case 1: A market garden applied midsummer solar scalding for 6 weeks, followed by buckwheat nurse crop and straw mulch. Annual weed emergence dropped by 80% the following season (Extension trials, multiple small-farm case studies).
Case 2: A small grain farmer used rye cover crops, reduced tillage, and tine weeding. Blackgrass and other annuals declined after three rotations, while soil organic matter increased (university and farmer-led research programs).
How to customize a no-chemical plan for small plots or urban farms?
Customize using space-efficient tactics: container mulches, potted nurse plants, solar scalding on beds with clear sheeting, and hand-tools for precision. Use microclimate mapping to place sensitive crops in cooler pockets and high-light crops where solar scalding is feasible.
Apply microclimate data to plan timing and crop placement; see practical microclimate mapping methods for small plots in the microclimate resources available on farm mapping (microclimate crop maps and related guides).
What monitoring and adaptive steps should you plan each year?
Record weed species, density, interventions used, and crop outcomes. Adjust species selection, timing, and termination methods based on observed responses.
Implement small trials: test one bed with solar scalding and another with a different method. Compare weed reductions and crop yields to refine approaches.
Summary of best-practice checklist
- Map fields and microclimates; choose seasonal windows for interventions.
- Use solar scalding in hottest months with clear plastic and moist soil.
- Sow fast-establishing nurse crops and terminate before seed set.
- Apply mulches and living mulches to cover exposed soil.
- Use targeted mechanical and thermal tools at critical weed stages.
- Design diverse rotations that interrupt weed life cycles.
- Support soil biology with reduced tillage and microbial consortia strategies (soil microbial consortia guidance).
- Monitor weed seedbanks and adapt annually.
What are the costs and labor considerations?
Estimate equipment and material costs: plastic sheeting (low cost per m2), wheel hoes and push seeders (one-time purchases), mulches (variable), and fuel for flame weeders (operational cost). Labor is front-loaded for tarping and mulch application; follow-up weeding remains necessary but reduced over time.
Balance costs by scaling tactics: use small-area solarization for high-value beds and cover crops for larger acreage.
Where to find further technical resources and extension support?
Consult local extension services for climate-specific solarization data and cover crop recommendations. Review university extension publications for flame weeding calibration and tine weeder settings. Use farmer networks and demonstration trials for regionally adapted tactics.
Adopt an iterative approach: test, measure, adapt. Use the integrated tactics described here to develop a resilient, no-chemical weed system that builds soil health and reduces long-term labor and input costs.


